Web Chat Widget Support

Setup

  1. Login to your account at https://app.b365solutions.com/
  2. From the left menu select “Sites”
  3. Then top menu choose “Chat Widget”
  4. On the right choose “New” to create a new chat widget

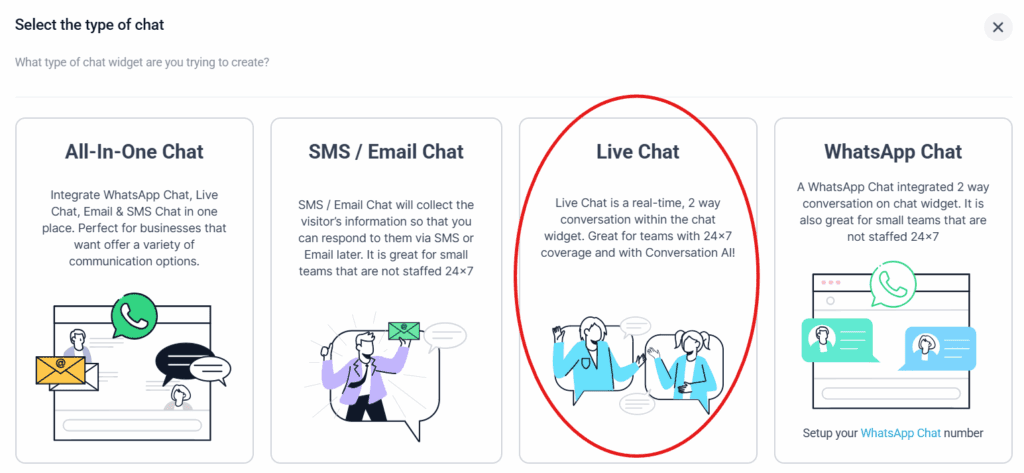
    5. Choose “Live Chat” 

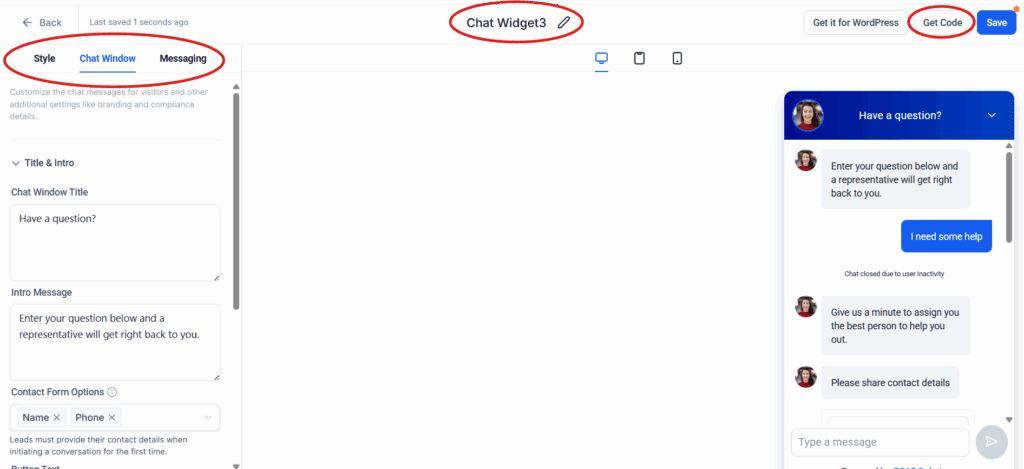
    5. Go through the settings on the left (Style, Chat Window, Messaging)

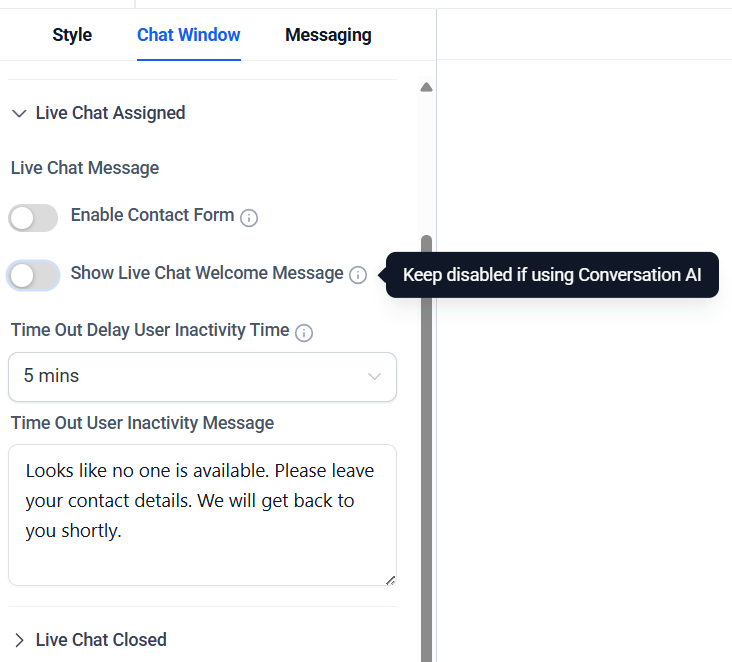
    6. If you plan to use AI responses, be sure to disable any features that state “Keep disabled if using Conversation AI”

    7. (Optional) Change the name of the chat widget at the top middle.

    8. To install the widget use the “Get Code” button or “Get it for Wordress” if using WordPress. 

For Assistance with installing the chatbot see the “Install” section.

Install

  • Add B365 Chat Widget to your WordPress Website
  • Add B365 Chat Widget to your Wix Website
  • Add B365 Chat Widget to your Shopify Website
  • Add B365 Chat Widget to your Squarespace Website
  • Add B365 Chat Widget to your Weebly Website
  • Add B365 Chat Widget to your Duda Website
  • Add B365 Chat Widget to your Website using code

Conversation AI